How do I import scanned papers (PDF)?
Last updated: October 15, 2026
Created your assessment? Time to add your students’ papers to it.
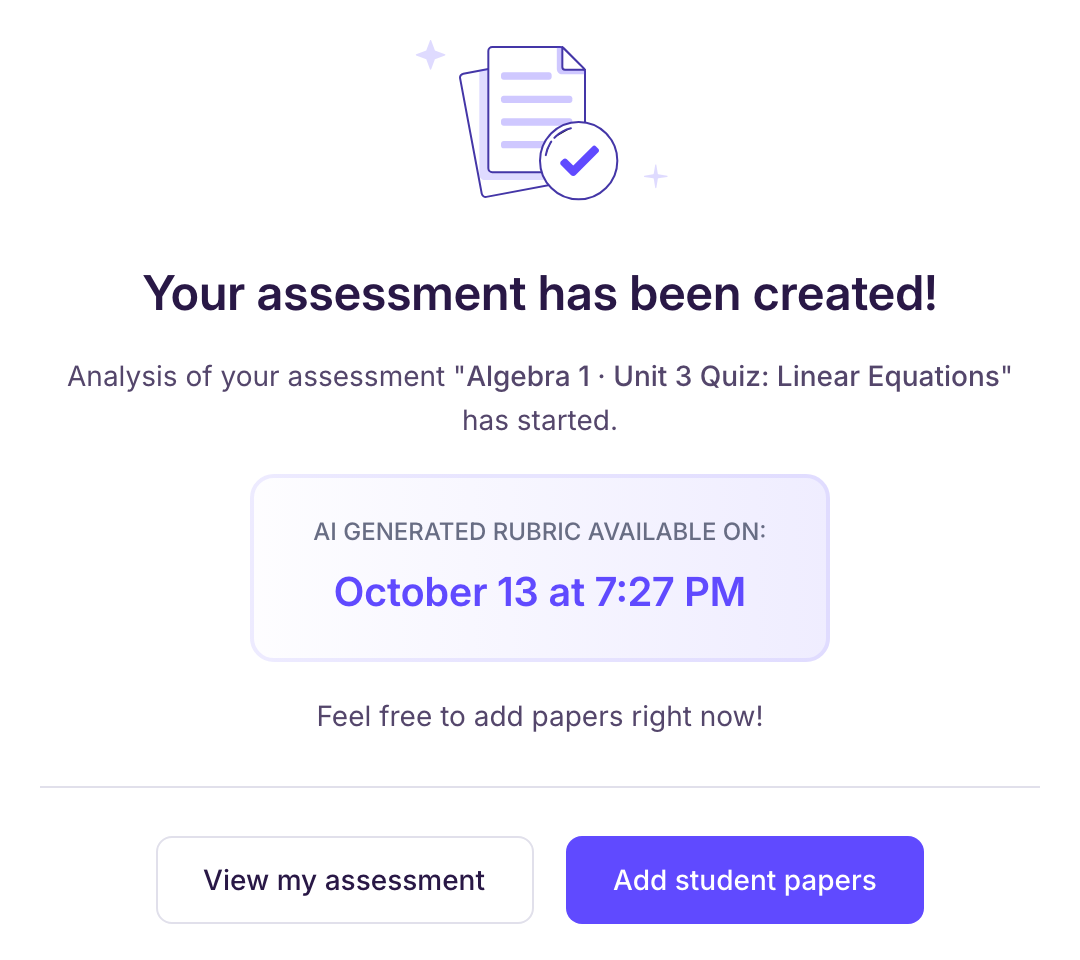
🧭 Step 1: open the paper import
Once your assessment is created, click “Add student papers”.
📌 Step 2: pick the import that fits your files
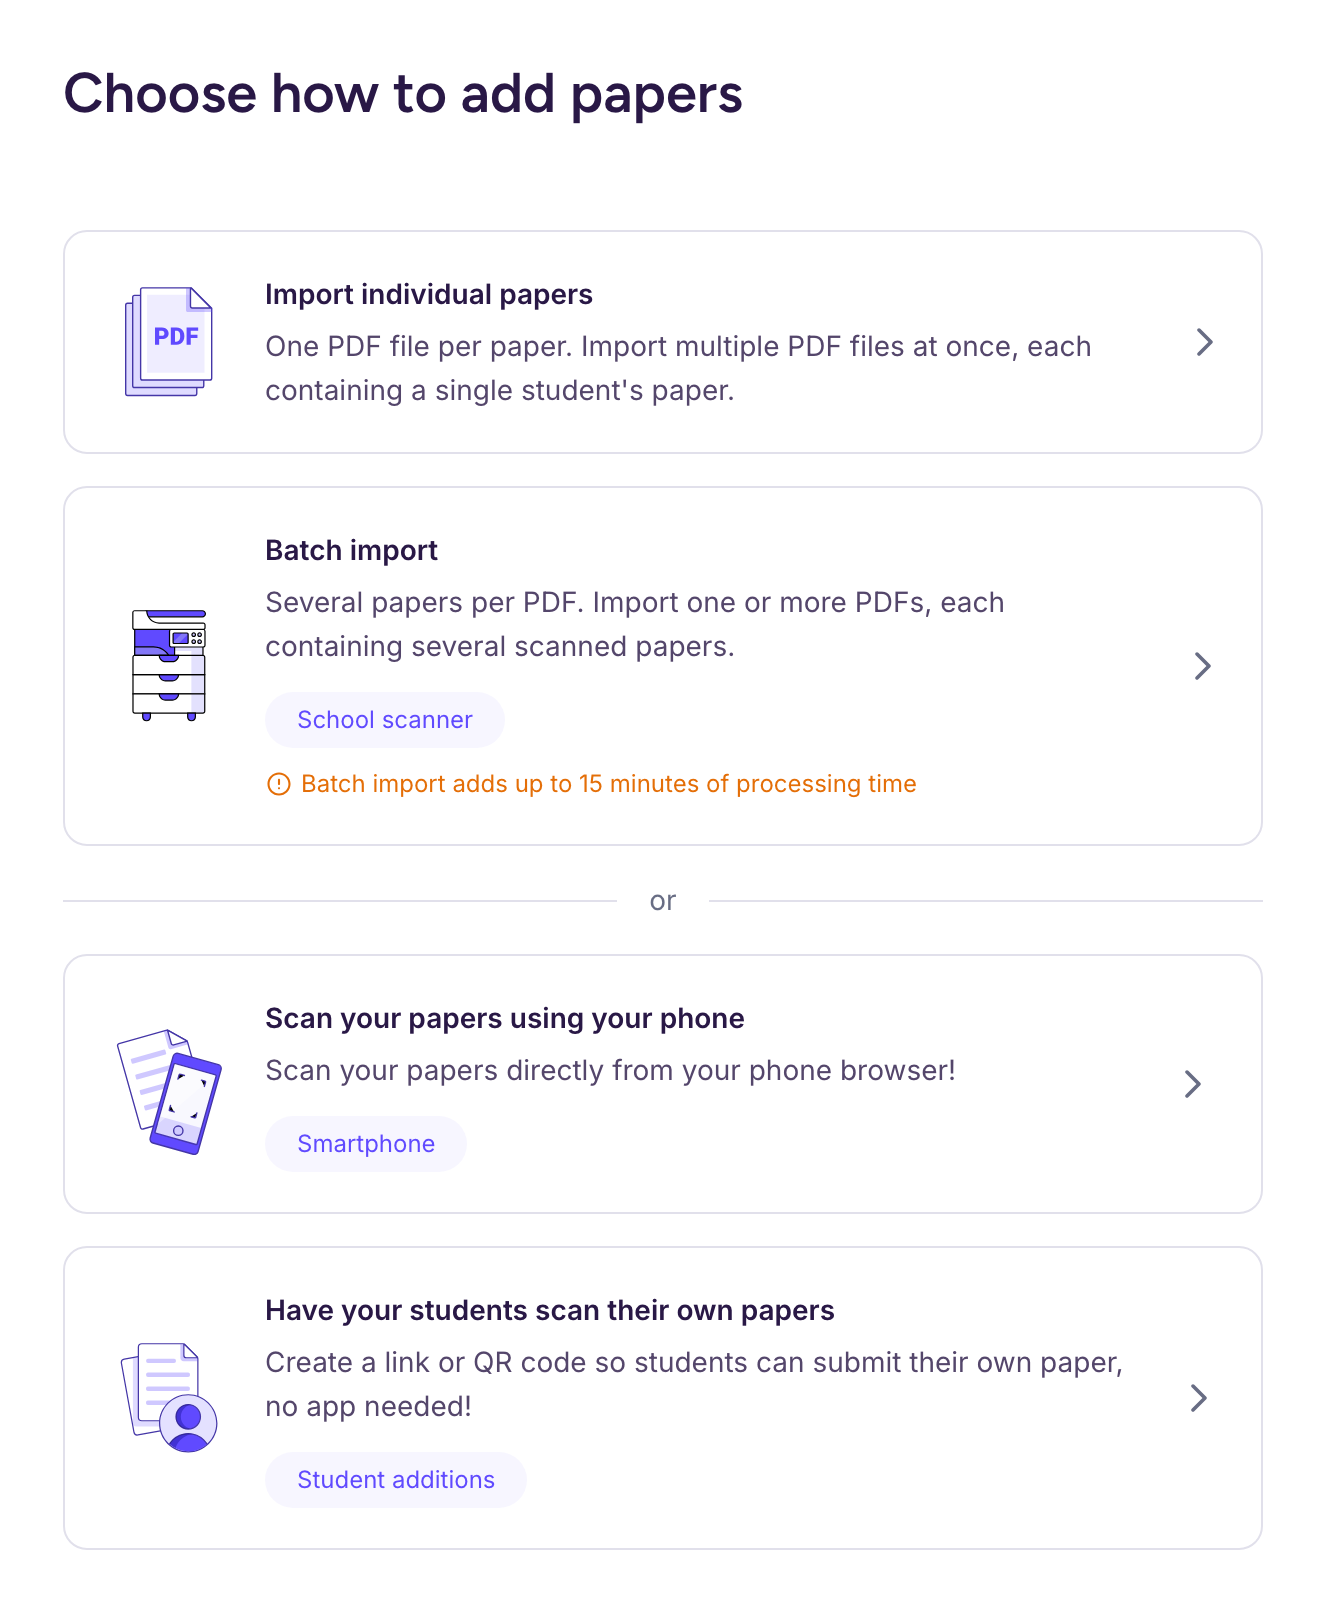
Two options accept PDFs you’ve already scanned:
-
“Batch import”: one PDF with all the papers of the class, scanned one after another, for example on your school copier. Ed.ai splits the file and groups each student’s pages, as long as each student’s pages are in a row. They can be out of order within a paper, but not mixed with another student’s pages. You can import several files like this. A batch import adds up to 15 minutes of processing time.
-
“Import individual papers”: one PDF file per student, each holding a single paper. You can import all the files at once. Double-check that each file matches one student.
💡 Don’t create one file per page: all the pages of a paper must be in the same PDF.
🖱️ Step 3: import your files
➡️ Drag your files into the upload area, or click it to pick them from your computer.
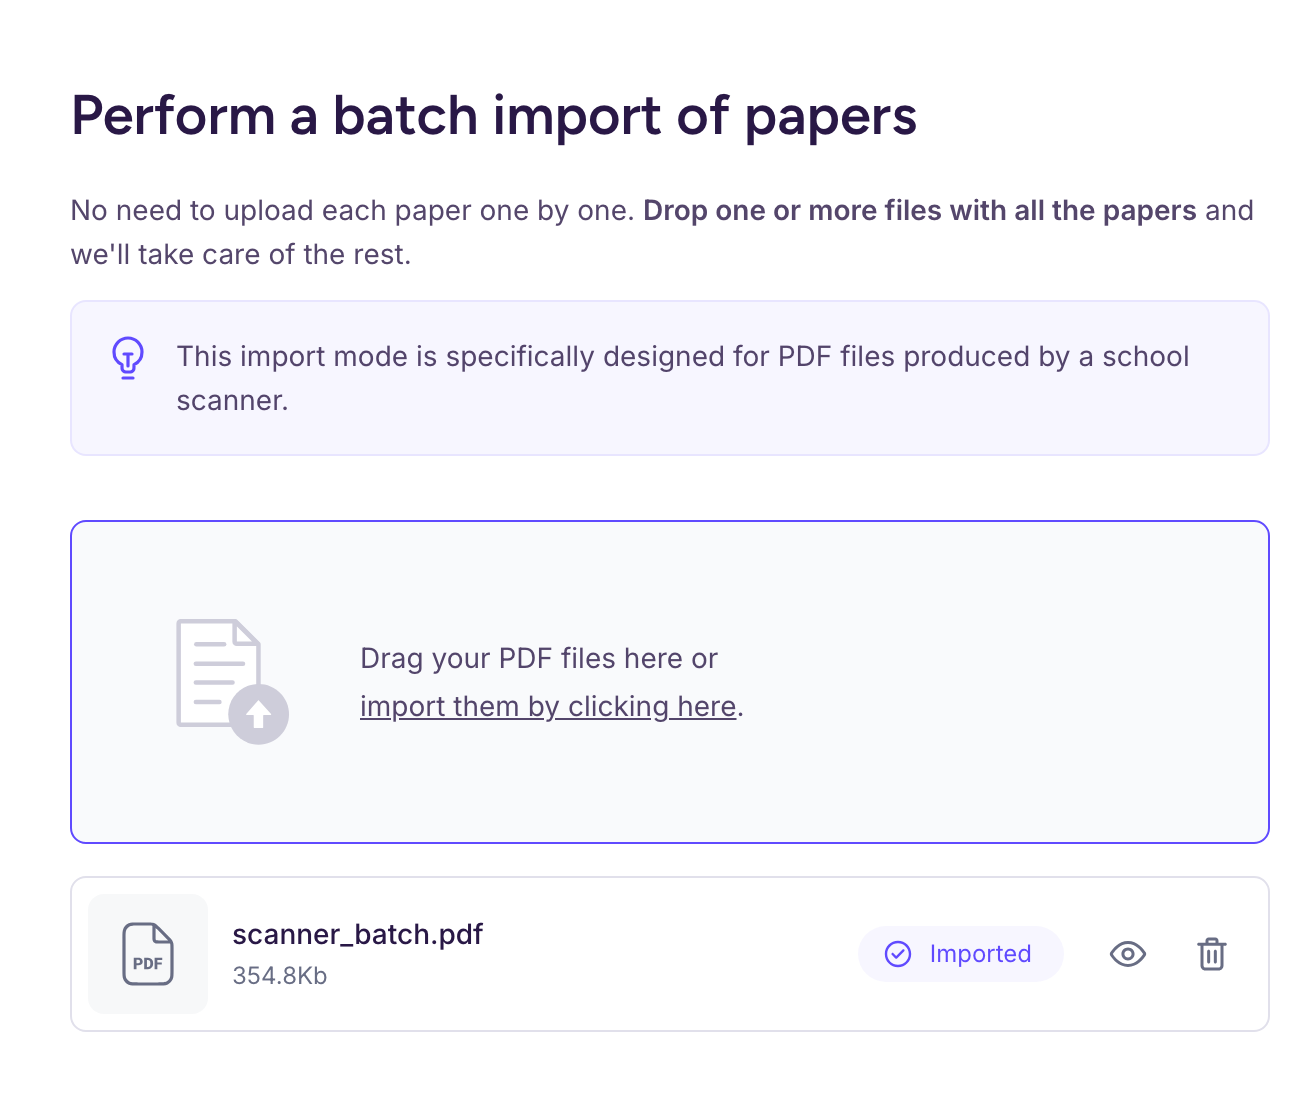
➡️ Then click “Done”.
With a batch import, a message confirms that your PDF is being processed and shows how many pages were detected. Don’t import the same file a second time: you would create duplicates.
✅ What happens next?
Ed.ai takes it from there:
-
You get an email as soon as the papers are processed.
-
The grading status of each paper shows in the “Student papers” tab.
⏳ Grading takes under 30 minutes, and each paper shows when its grading will be ready: see Quelle différence entre le mode de correction rapide et le mode de correction approfondie ?
🧭 Scanning a stack of papers on your school copier? See Guide pratique : scannez des copies avec votre scanner d’établissement