How do I add and edit a group of students?
Last updated: October 15, 2026
It depends on how your school accesses Ed.ai.
If your school connects Ed.ai to its LMS or SIS
Your groups (classes) are usually created automatically from your school's roster. Their tag shows the name of your LMS, or “LMS”.
You can't change their students, who mirror your school's LMS or SIS, but you can create your own groups if you need to (for example, level or intervention groups). An imported group you don't need can be hidden with “Hide group” in the group's menu.
Don't see your classes? Make sure you signed in through your school's LMS, not with a personal account: a personal account doesn't give you your school's classes.
If you create your groups yourself
If your students sign in with Ed.ai usernames and passwords, we create your groups from the list your school sends us. You can also create your own groups freely:
-
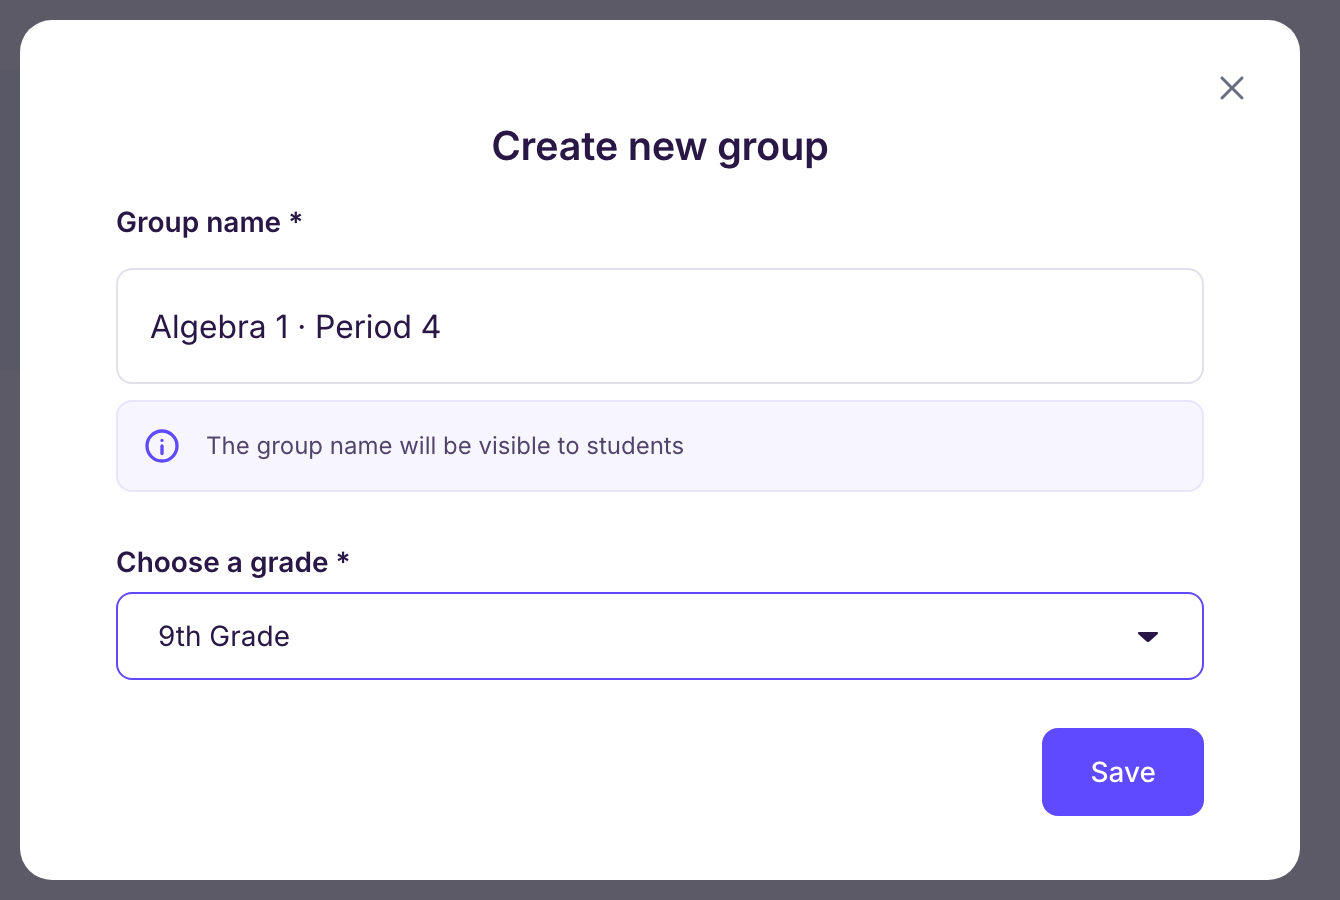
Give the group a name (for example, “Algebra 1 · Period 3”),
-
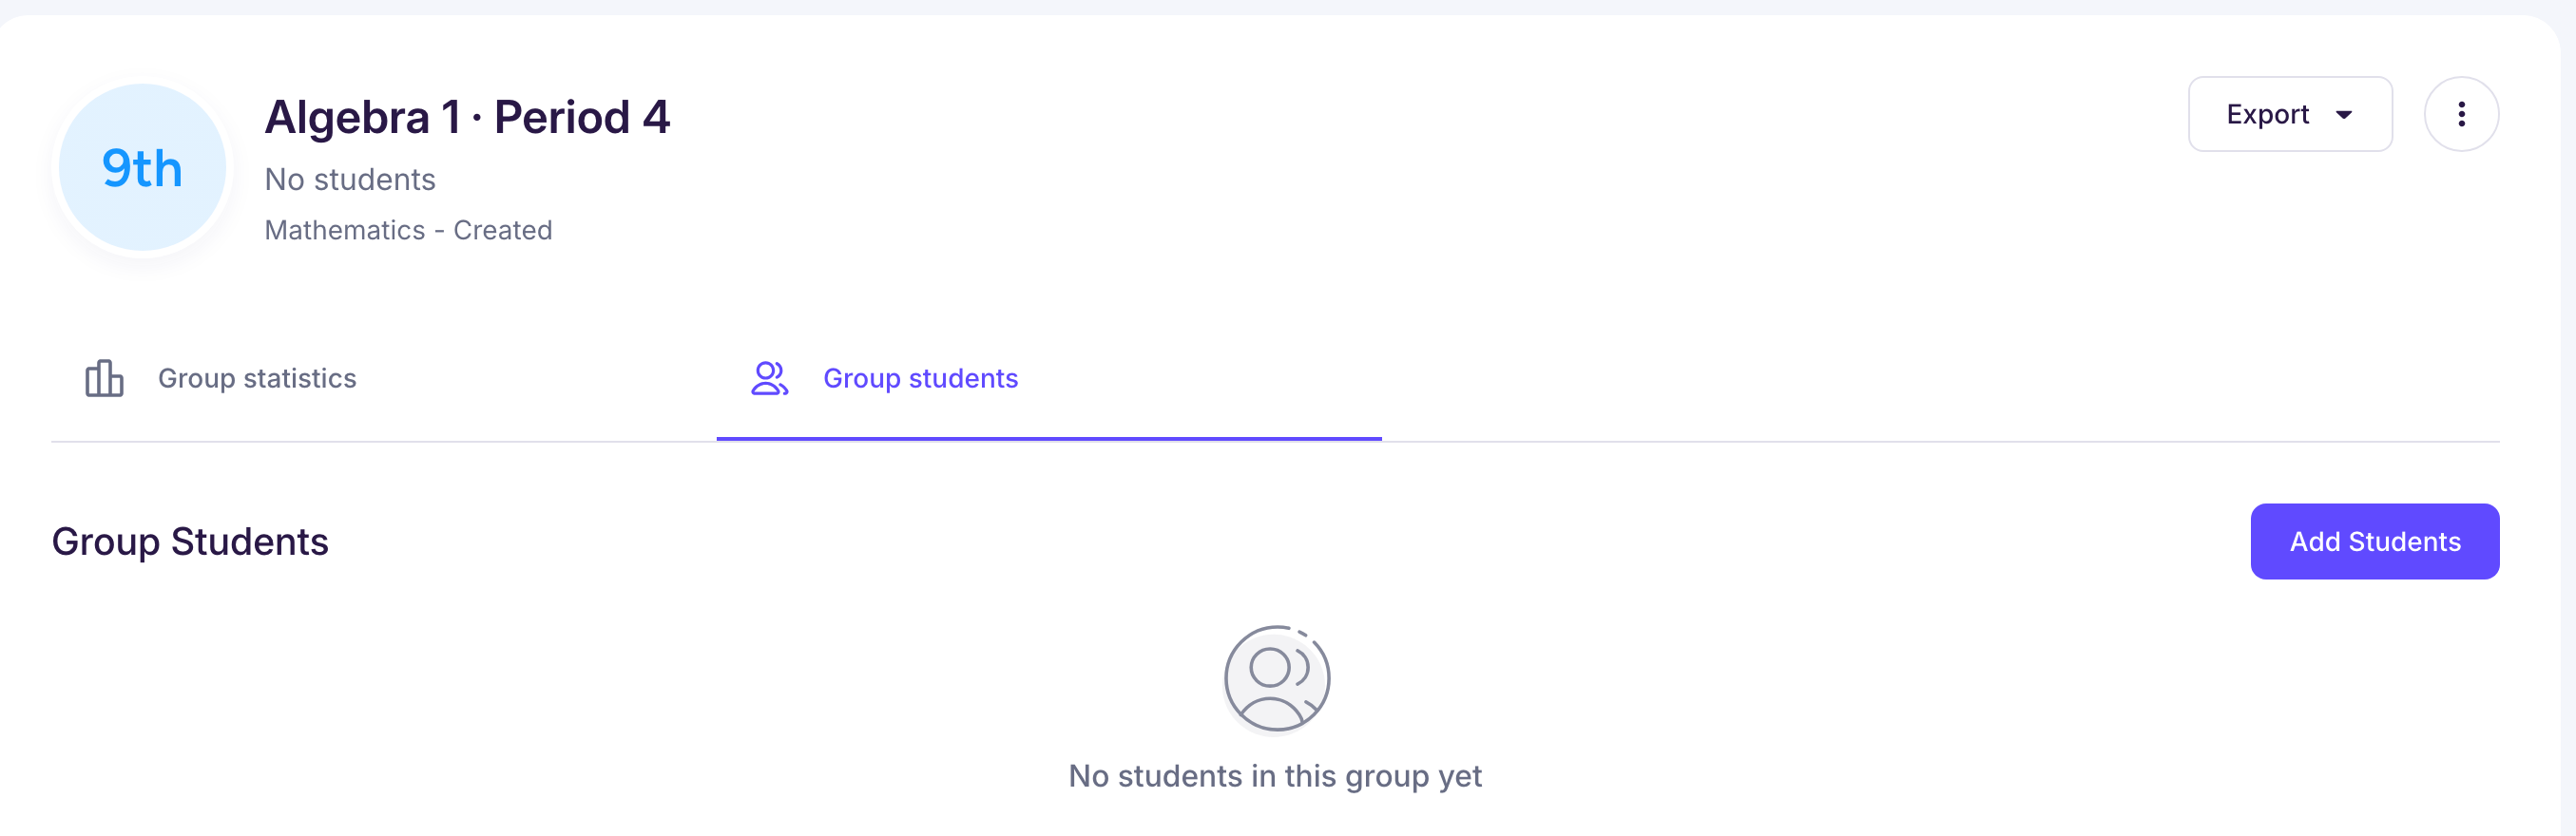
Add the students you want with “Add Students”.
How do I do it?
-
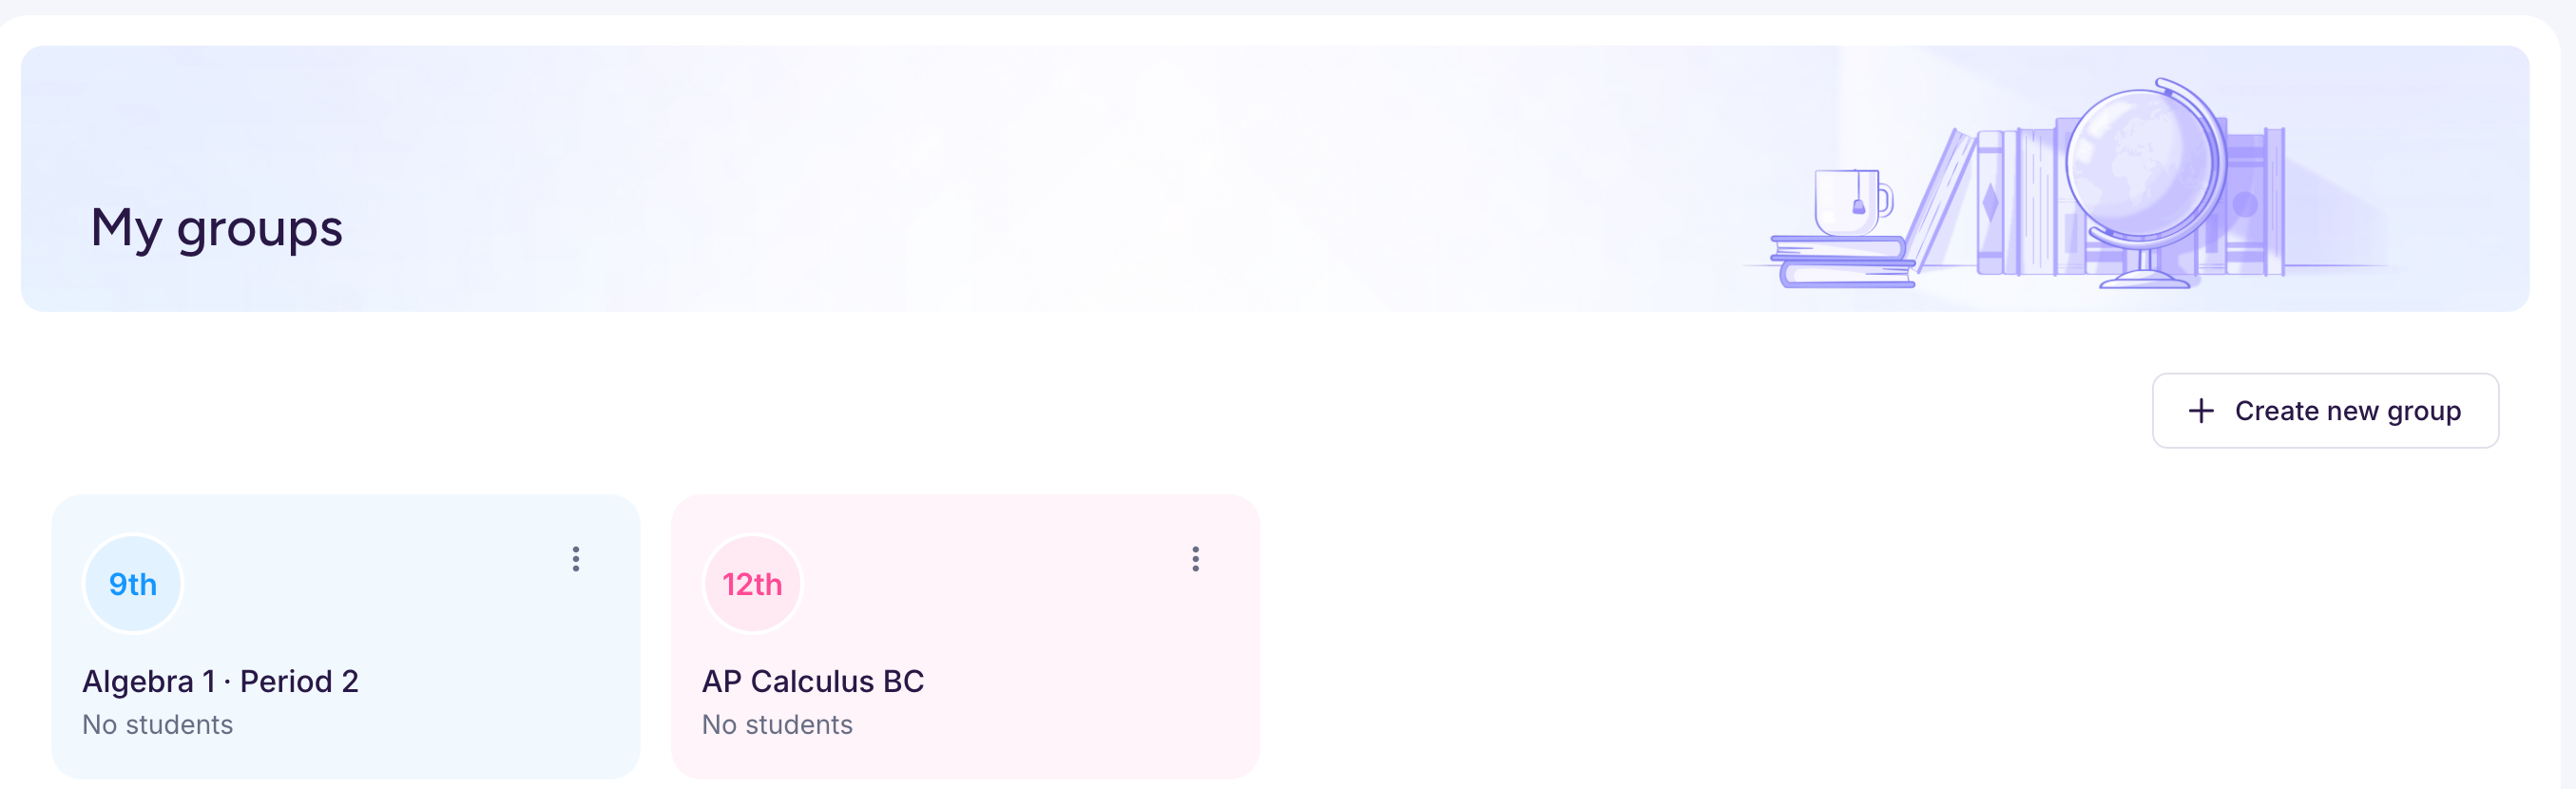
Click “Create new group” on the “My groups” page.
-
Name your group and pick its grade in “Choose a grade”.
-
Click “Save”.
-
Now add students with “Add Students”: pick from students who already have an Ed.ai account in your other groups (or at your school, if you have a school license).
-
With Ed.ai Pro, you can also create your students' accounts: “Create student accounts”, then “Enter the list of students” (you get login slips to print or download) or “Share an invite code” (each student scans the QR code or types the code, enters their name and joins the group).
To rename the group or change its grade later, use “Edit group” in the group's menu.